Posts

WEEK 1

Image
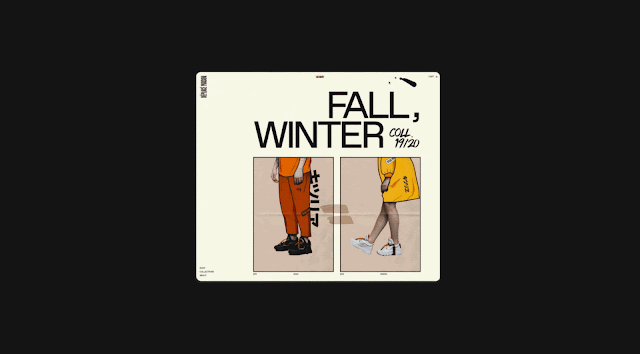
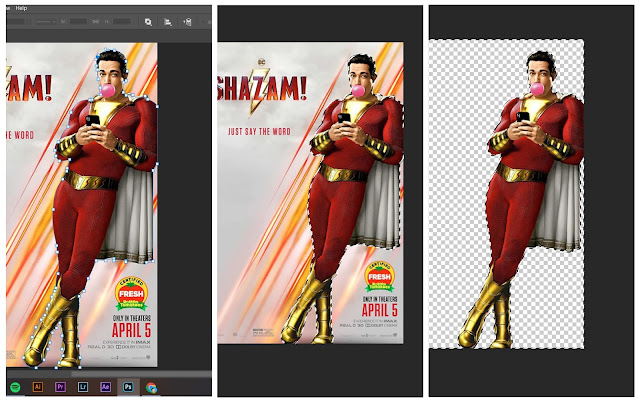
 PRACTICAL  3 PHOTOSHOP WORKS I LIKE Figure 1.0:  Photoshop Work One What I admire about this artwork is its incorporation of real and illustrated elements to create minimalist yet eye-catching visuals. Figure 1.1: Photoshop Work Two What I like about this artwork is its absurdity and meaninglessness, it's just a fun picture to look at, I like its warm tones with playfulness of the colours used, not to mention the humanoid birds. Figure 1.2: Photoshop Work Three What I like about this artwork are the details and texture it shows, I hope to create artworks as clean and detailed as this in the future.  BEZIER GAME EXPERIENCE Figure 1.3: Bezier Game Screenshot As an experienced user of Illustrator, I'd say I'm quite familiar with using the pen tool, thus the Bezier game was quite easy for me. It was fun though.  LECTURE  As our first lecture, Mr. Fauzi taught us how to organize our folder. The system that he encourag

WEEK 2

Image
 PRACTICAL  PEN TOOL EXERCISE Figure 1.0: Masking Process This week we were instructed by Mr. Chong to mask out Shazam with the pen tool on Photoshop.  Hearst Mansion Exercise  In our first class, we were instructed by Mr. Martin Chong to put two separate images  into one (images are shown below). To merge the two different pictures, we were introduced to the basic tools of Photoshop, to name a few, the quick selection tool, free transform, colour match, masks and basic lighting alterations. Figure 1.1: Hearst Mansion (Background) Figure 1.2: Shazam  Step 1: Cutting Out Shazam To be specific, we were asked to photoshop Shazam into the hearst mansion. As a first step, I used the quick selection tool to "cut out" Shazam from the poster.  Figure 1.3: Cutting Out Shazam Step 2: Matching Colours and Lighting The second step was to place the cut out Shazam to the Hearst Mansion, when he was resized and placed there using Free Transfor

WEEK 3

Image
 PRACTICAL  BLENDING MODE EXERCISE This week we were instructed by Mr. Chong to experiment with blending modes on Photoshop. Shown below are the exercises that we did in class. Figure 1.0: Sunset with Birds For this particular picture, we were told to put in a picture of a flock of birds into a sunset picture, the blending mode that we used was "screen" and we experimented on "levels" too. Figure 1.1: Girl Drinking Coffee For this picture, we were told to put in a picture of steam on top of the cup of coffee by using the "multiply" blending mode option. Apart from that, we were told to soften the look of the photo by adding white radial gradient to it. Figure 1.2: Extra Light Source In this picture, we were told to make the light source brighter by using the gradient tool and "multiply" from the blending mode options. Figure 1.3: Darkened Effect In this picture, we were told to make the darken the inn

WEEK 4

Image
 PRACTICAL  Recolouring Exercise This week we were taught by Mr. Martin to recolour a black and white image, using layer masks and the refining tool. This was a bit of a challenge for me because I'm relatively new to the process of recoluring. Nonetheless, I'm happy to have learned new things. Not to mention, this exercise benefits me in completing the recoloring exercise in Project 1. Shown below is the before and after of the recolouring exercise. Figure 1.0: Before Recolouring Figure 1.1: After Recolouring Recolouring (Part 1)  This week we were instructed by Mr. Martin to recolour a black and white photo. For me, this task was quite a bit of a challenge for me, because recolouring is relatively new to me but I've always wanted to learn this skill. We were given a picture of an old man to recolour for this part of the exercise. Figure 2.0: Original B&W Photo Step 1: Brush Tool and Blending Mode As the first step, we had to creat