PRACTICAL
Recolouring Exercise
This week we were taught by Mr. Martin to recolour a black and white image, using layer masks and the refining tool. This was a bit of a challenge for me because I'm relatively new to the process of recoluring. Nonetheless, I'm happy to have learned new things. Not to mention, this exercise benefits me in completing the recoloring exercise in Project 1. Shown below is the before and after of the recolouring exercise.
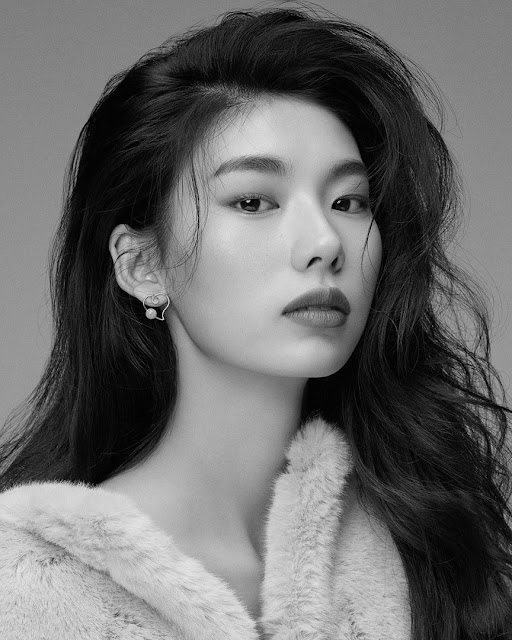 |
| Figure 1.0: Before Recolouring |
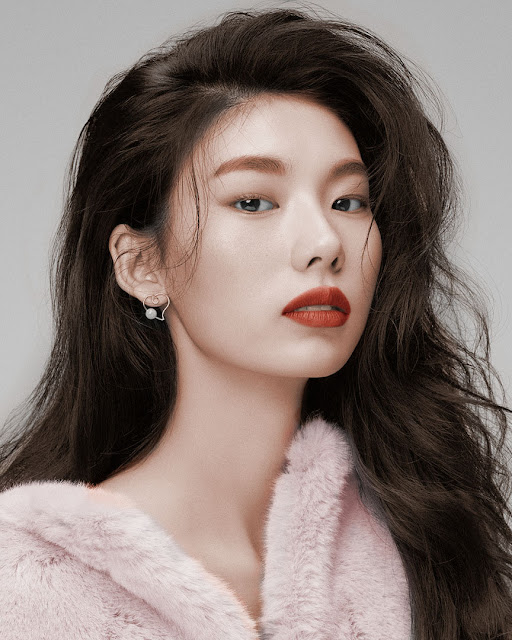 |
| Figure 1.1: After Recolouring |
Recolouring (Part 1)
This week we were instructed by Mr. Martin to recolour a black and white photo. For me, this task was quite a bit of a challenge for me, because recolouring is relatively new to me but I've always wanted to learn this skill. We were given a picture of an old man to recolour for this part of the exercise.
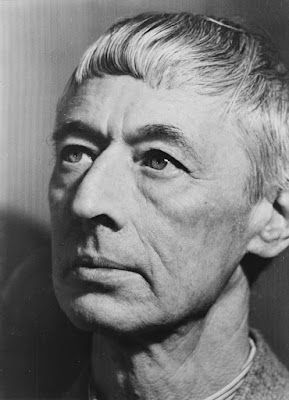 |
| Figure 2.0: Original B&W Photo |
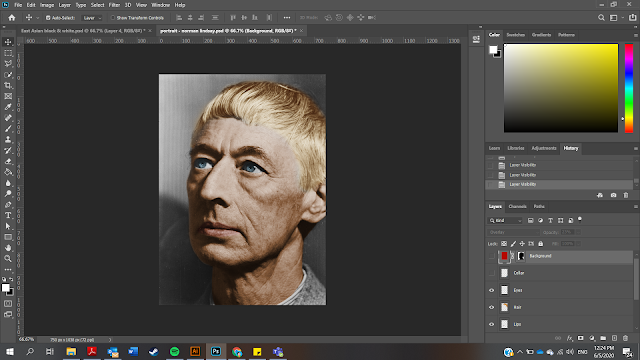
Step 1: Brush Tool and Blending Mode
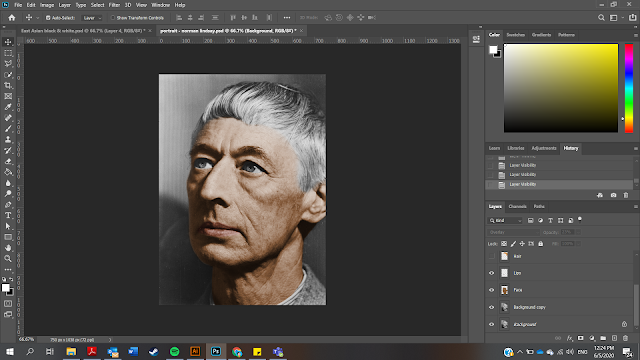
As the first step, we had to create a new layer and use the brush tool to paint the face. After that, we used "overlay" from blending mode options to make the brush layer less harsh and blend in with the subject's face.
 |
| Figure 2.1: Recolouring the face |
Step 2: Repeat Step 1 on Lips, Eyes, Hair and Collar
Using the same steps in "Step 1", I recoloured the lips, eyes, hair and collar.
 |
| Figure 2.2: Recoloring the Lips |
|
| Figure 2.3: Recolouring the Eyes |
 |
| Figure 2.4: Recolouring the Hair |
 |
| Figure 2.5: Recolouring the Collar |
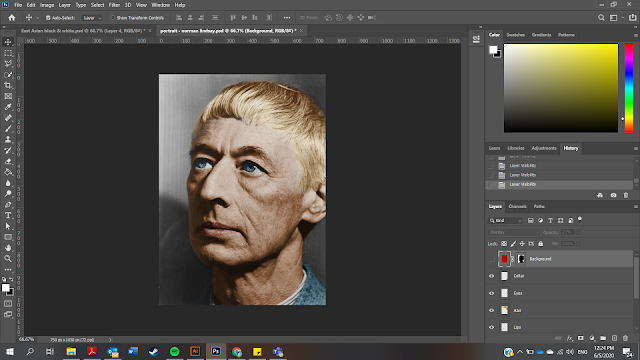
Step 3: Recolouring The Background
As for the background, we were told to mask out the head of the subject with the quick selection tool and fill in the background with colour. After that, apply "overlay" to soften the colour of the background.
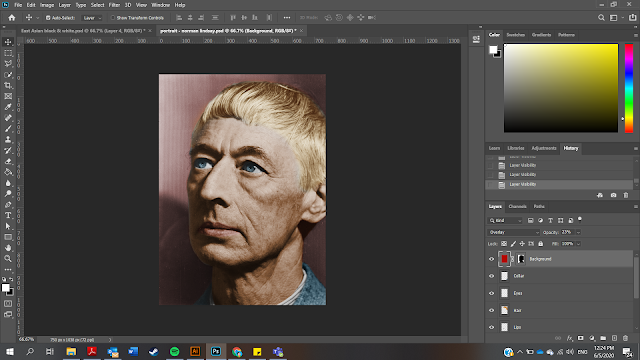 |
| Figure 2.6: Recolouring the Background |
Final Outcome of Recolouring Exercise (Part 1)
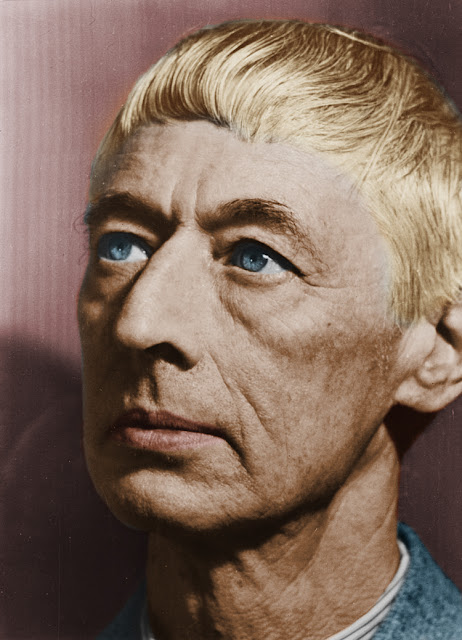 |
| Figure 2.7: Final Recolouring Exercise (Part 1) |
Recolouring (Part 2)
In this part of the exercise, we were instructed to choose a black and white photo from a specific set provided by Mr. Martin. I've chosen the image below because the subject sort resembles an Asian Keanu Reeves.
 |
| Figure 2.8: Chosen Image |
Step 1: Picking Colour References
I had to google colour references that matches the subject. I googled the same model so that it would be more accurate.
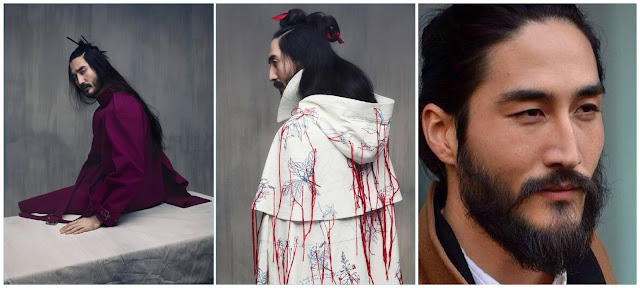 |
| Figure 2.9: Colour References |
Step 2: Recoloring the Background
I chose to recolour the background first because the dark hair colour is kind of camouflaged with with dark background.
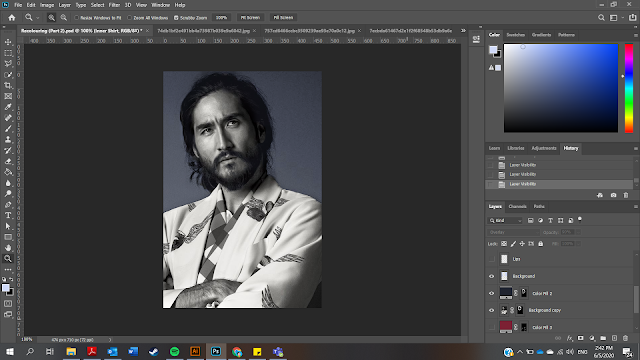 |
| Figure 2.10: Background Colour |
Step 3: Recolouring the Hair
For this step, I used the layer mask as taught in class to mask out and refine the hair selection, after that I used the "solid colour" option to change the hair colour. For his hair, I have chosen to use dark blue so it wouldnt't look too dark. I also played around with levels to get the brightness right.
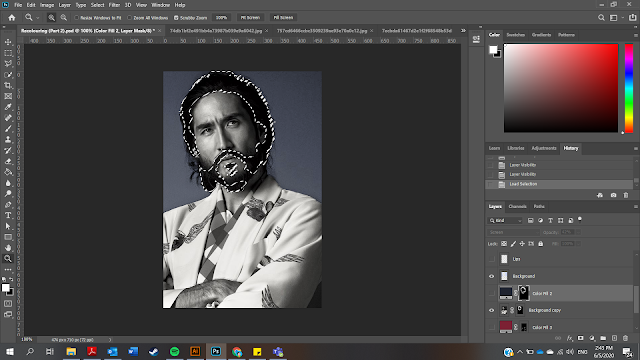 |
| Figure 2.11: Hair Mask |
Step 4: Recolouring Skin and Lips
This part is relatively easy because all I used was the brush tool and blending mode. Apart from that, I also adjusted the vibrance of the skin tone.
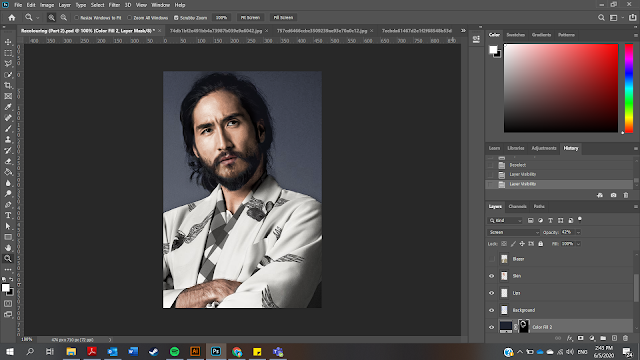 |
| Figure 2.12: Skin Tone and Lips |
Step 5: Recoloring the Clothes
This part was easy when I recoloured the blazer and the inner shirt by using the same steps in Step 4. However, the hard part came when I was trying to recolour the patterns and details on the shirt. I used the layer mask, to mask, select and refine the objects, and finally used solid colour to change the colour. Apart from that, I used the eraser to refine the exceeding blotches of colour.
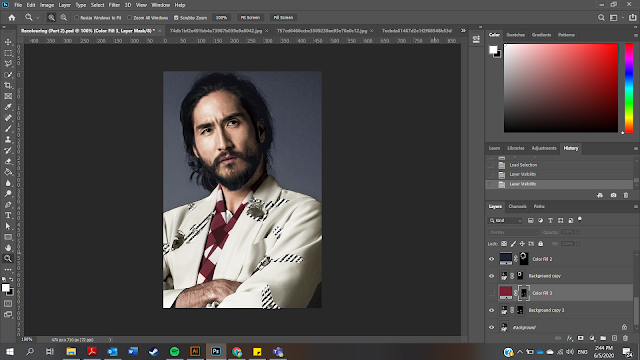 |
| Figure 2.13: Masking the Patterns |
Here's a comparison of the before and after.
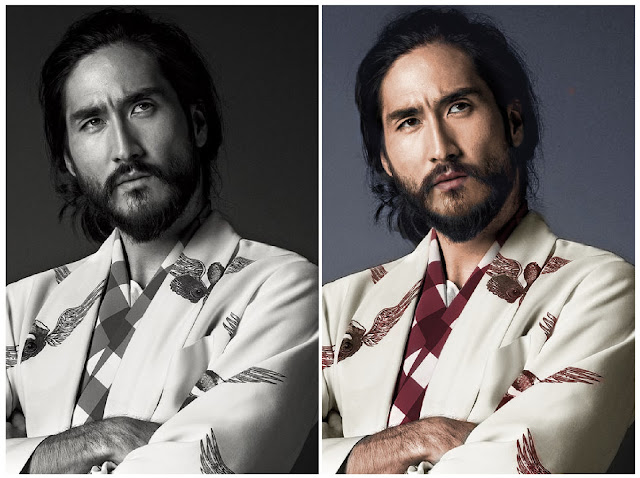 |
| Figure 2.14: Before and after Recolouring |
Final Outcome of Recolouring Exercise (Part 2)
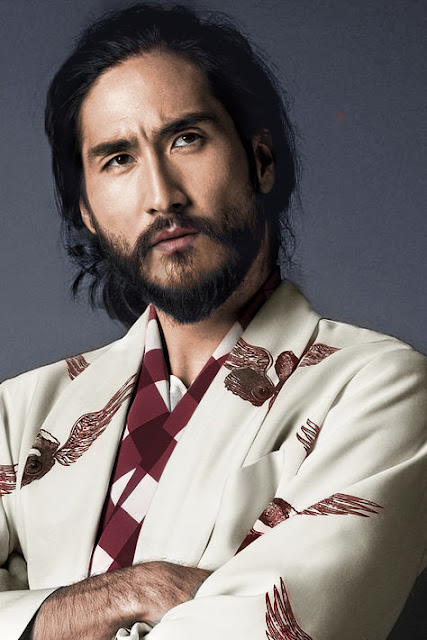 |
| Figure 2.15: Final Recolouring Exercise (Part 2) |
LECTURE
TUTORIAL
This week we weren't taught about anything in the tutorial class.


Comments
Post a Comment